Ubuntu 18.04에 LAMP ( Apache2, MySQL , PHP 7) 설치하는 방법
https://webnautes.tistory.com/1185
현재 우분투 버전 확인
lsb_release -a

업데이트 와 업그래이드
apt update
apt upgrade
1. Apache2 웹서버 설치
웹서버(Web Server)는 웹브라우저 같은 클라이언트의 요청을 받아서 웹문서나 이미지 등을 전송해주는 역활을 합니다.
1-1. Apache2 웹서버 패키지를 설치합니다.
내부 아이피 확인
ifconfig
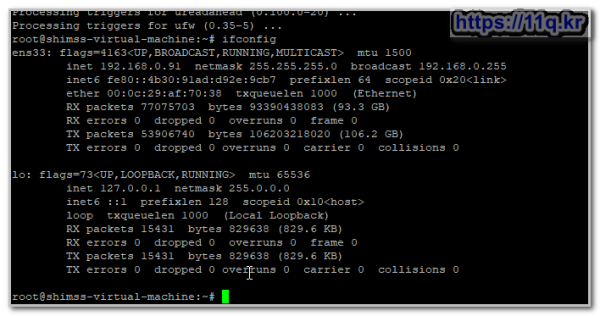
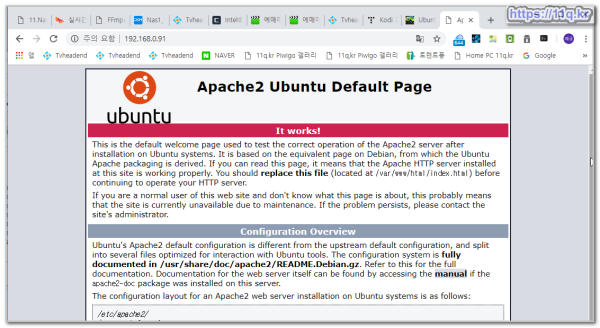
내부 아이피로 웹 접속 확인
http://192.168.0.91/
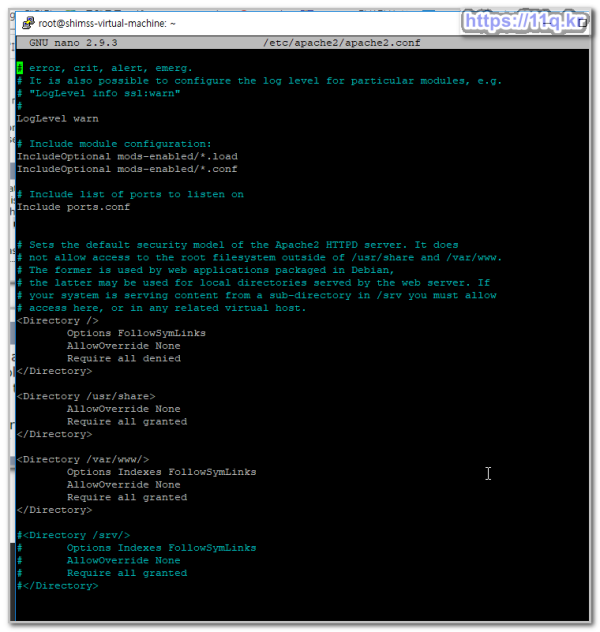
nano /etc/apache2/apache2.conf
<Directory /var/www/>
Options Indexes FollowSymLinks
AllowOverride None
Require all granted
</Directory>
|
의 설정 확인
방화벽 활성화
ufw enable
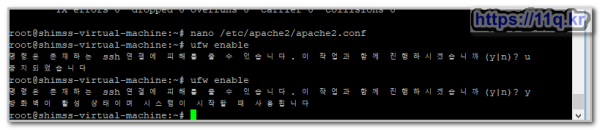
1-4. 방어벽 프로그램 ufw를 활성화 합니다. (테스트 목적이라면 꼭 할 필요없습니다.)
webnautes@webnautes-pc:~$ sudo ufw enable
방화벽이 활성 상태이며 시스템이 시작할 때 사용됩니다 |
방어벽 기본 설정을 변경합니다.
webnautes@webnautes-pc:~$ sudo ufw default deny incoming
기본 incoming 정책이 'deny'로 바뀌었습니다
(당신의 규칙에 따라 업데이트를 하시는 걸 명심하십시오)
webnautes@webnautes-pc:~$ sudo ufw default allow outgoing
기본 outgoing 정책이 'allow'로 바뀌었습니다
(당신의 규칙에 따라 업데이트를 하시는 걸 명심하십시오) |
SSH 접속을 허용합니다.
webnautes@webnautes-pc:~$ sudo ufw allow ssh
규칙이 추가되었습니다
규칙이 추가되었습니다 (v6) |
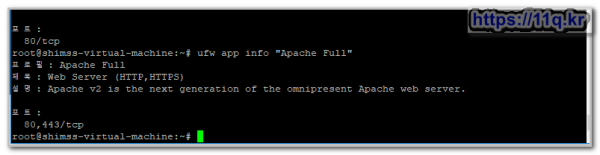
ufw app info "Apache"
웹서버에서 사용할 포트 80(HTTP), 443(HTTPS)에 따라 다음 세가지 중 하나를 선택합니다.
webnautes@webnautes-pc:~$ sudo ufw app info "Apache"
프로필: Apache
제목: Web Server
설명: Apache v2 is the next generation of the omnipresent Apache web server.
포트:
80/tcp
webnautes@webnautes-pc:~$ sudo ufw app info "Apache Secure"
프로필: Apache Secure
제목: Web Server (HTTPS)
설명: Apache v2 is the next generation of the omnipresent Apache web server.
포트:
443/tcp
webnautes@webnautes-pc:~$ sudo ufw app info "Apache Full"
프로필: Apache Full
제목: Web Server (HTTP,HTTPS)
설명: Apache v2 is the next generation of the omnipresent Apache web server.
포트:
80,443/tcp |
웹서버에서 사용할 포트 80(HTTP), 443(HTTPS)에 따라 다음 세가지 중 하나를 선택합니다.
ufw app info "Apache Full"
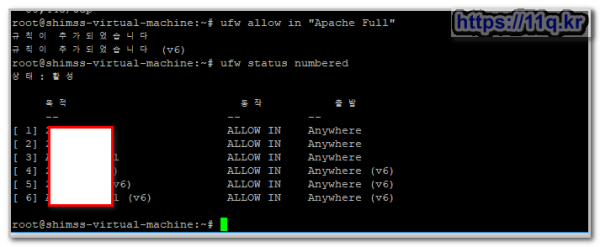
방화벽 적용 확인
ufw allow in "Apache Full"
ufw status numbered
2. MySQL 서버 설치
MySQL은 관계형 데이터베이스 관리 시스템(relational database management system, RDBMS)입니다.
다중 사용자가 다수의 데이터베이스에 접근할 수 있도록 서버를 구성합니다.
2-1. MySQL 서버 패키지를 설치합니다.
$ apt install mysql-server
|
2-2. MySQL 5.7은 설치 작업 중에 root 패스워드를 물어보지 않기 때문에 다음처럼 설정해야 합니다.
webnautes@webnautes-pc:~$ sudo mysql_secure_installation
Securing the MySQL server deployment.
Connecting to MySQL using a blank password.
VALIDATE PASSWORD PLUGIN can be used to test passwords
and improve security. It checks the strength of password
and allows the users to set only those passwords which are
secure enough. Would you like to setup VALIDATE PASSWORD plugin?
Press y|Y for Yes, any other key for No: y
There are three levels of password validation policy:
LOW Length >= 8
MEDIUM Length >= 8, numeric, mixed case, and special characters
STRONG Length >= 8, numeric, mixed case, special characters and dictionary file
Please enter 0 = LOW, 1 = MEDIUM and 2 = STRONG: 1
Please set the password for root here.
New password: root 패스워드를 입력합니다.
Re-enter new password:
Estimated strength of the password: 50
Do you wish to continue with the password provided?(Press y|Y for Yes, any other key for No) : y
By default, a MySQL installation has an anonymous user,
allowing anyone to log into MySQL without having to have
a user account created for them. This is intended only for
testing, and to make the installation go a bit smoother.
You should remove them before moving into a production
environment.
데이터베이스를 아무나 읽어볼 수 없게 합니다.
Remove anonymous users? (Press y|Y for Yes, any other key for No) : y
|


