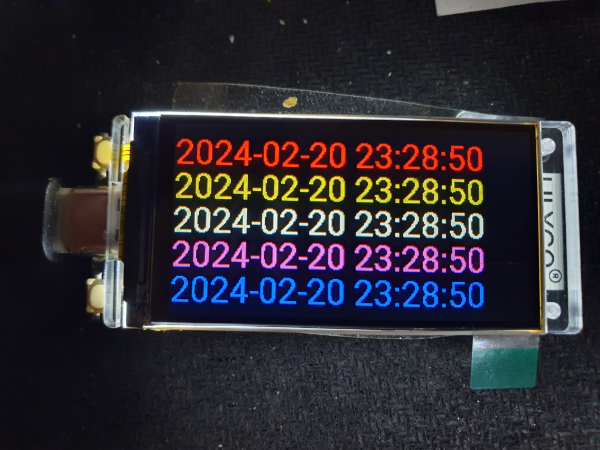
● HA작업) T-Display-S3 LCD 디스플레이 개발 보드 ESP32 S3, 1.9 인치 ST7789 설정 작업
본문
● T-Display-S3 LCD 디스플레이 개발 보드 ESP32 S3, 1.9 인치 ST7789 설정 작업
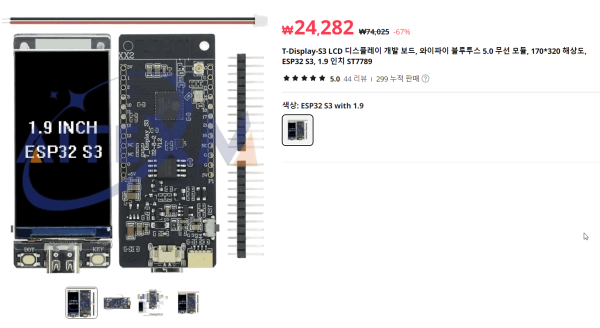
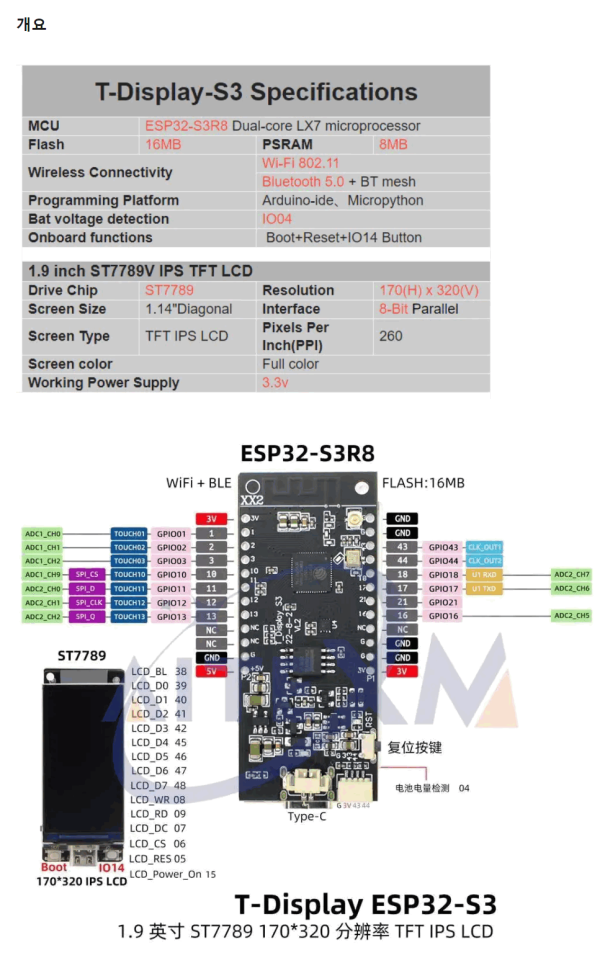
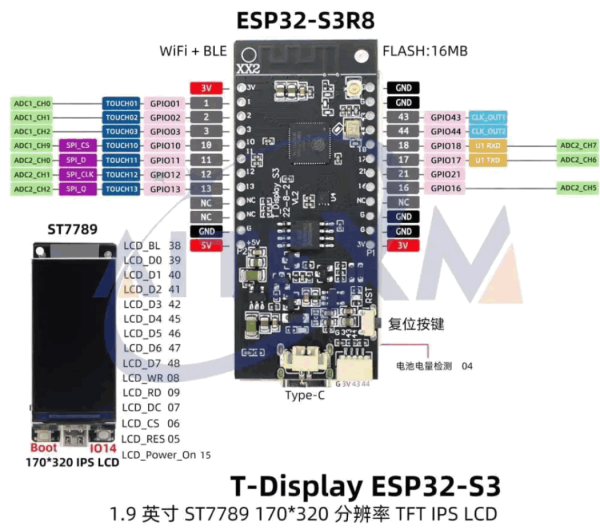
T-Display-S3 LCD 디스플레이 개발 보드, 와이파이 블루투스 5.0 무선 모듈, 170*320 해상도, ESP32 S3, 1.9 인치 ST7789
https://ko.aliexpress.com/item/1005006186564017.html
LILYGO® T-Display-S3 ESP32-S3 1.9 inch ST7789 LCD Display WIFI Bluetooth5.0 Wireless (clearer)
https://www.youtube.com/watch?v=2hlW0LzaUwY
1.The video introduces the details of T-Display-S3.
2.The demonstration uses Platform IO, arduino IDE, Micropython, and IDF to build the environment, you can choose one of the ways you like.
3.Factory firmware can use ESPtouch to configure the network.
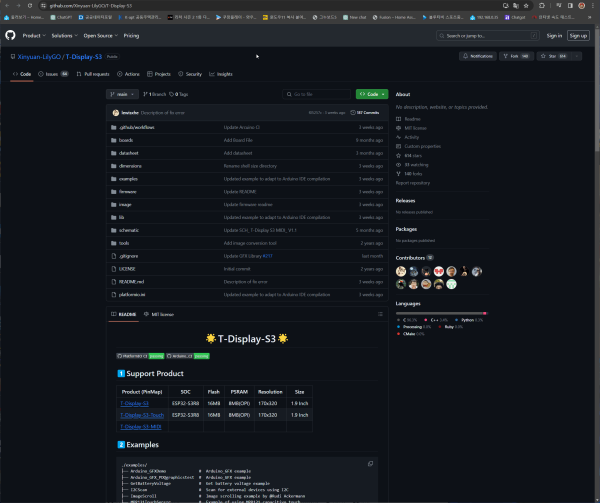
*Github:
https://github.com/Xinyuan-LilyGO/T-Display-S3
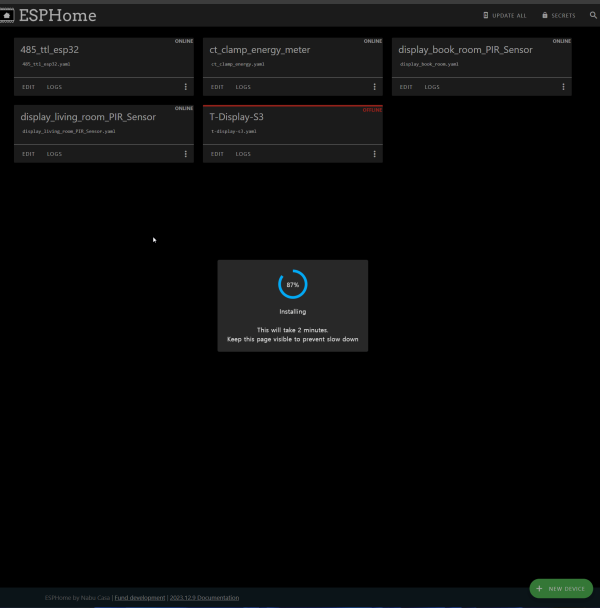
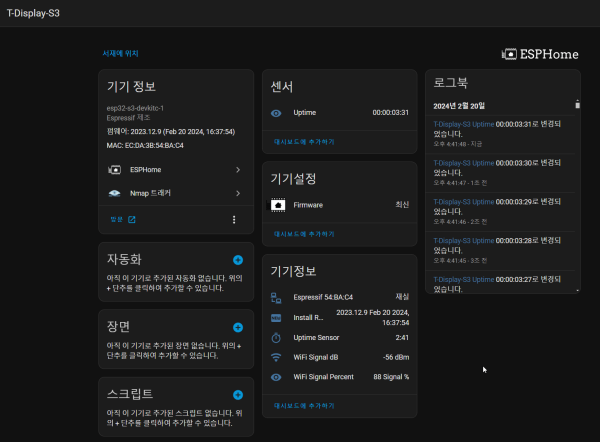
작업은 HAOS에서 연결 사용으로 작업
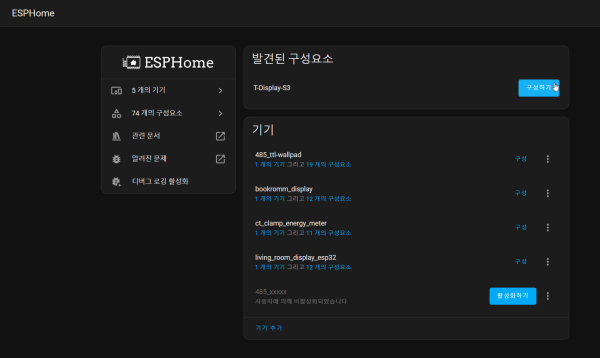
기본구성
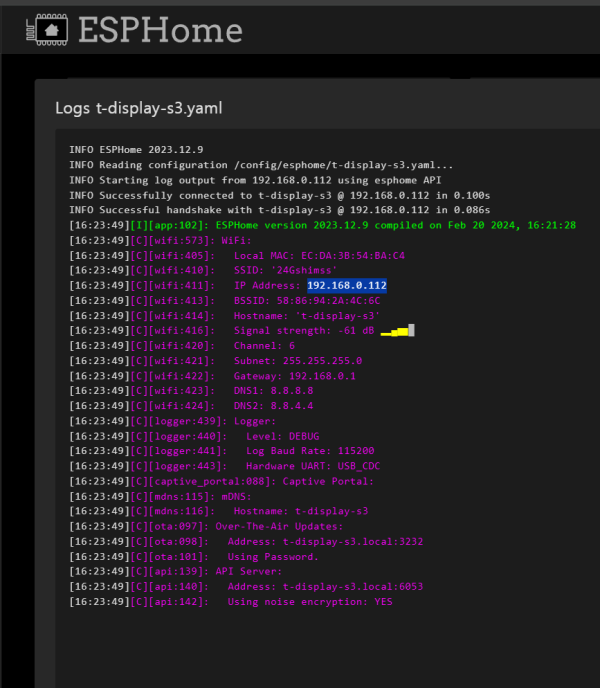
추가
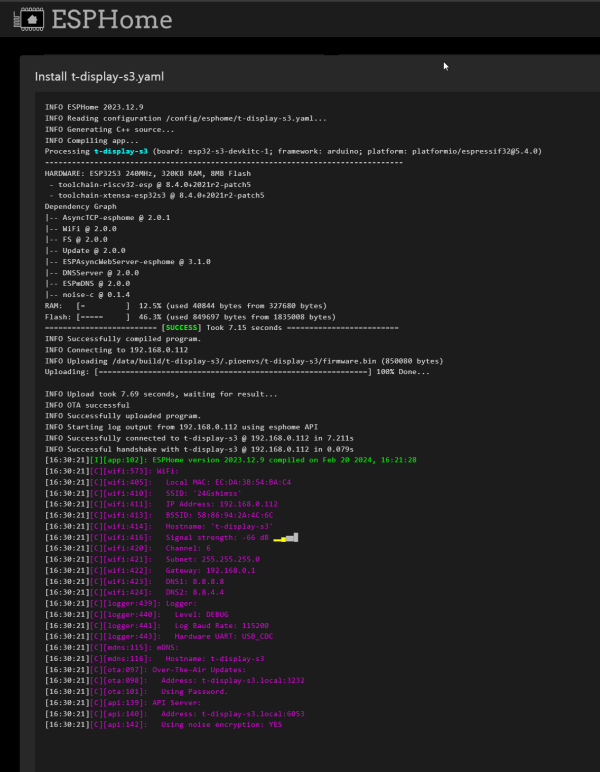
USB 케이블 제거후 재연결 >> 기본 설정 install
구성하기
http://psenyukov.ru/вывод-показаний-с-датчиков-из-home-assistant-на-ди/
https://www.youtube.com/watch?v=KtlKadbhdBs
T-Display ESP32-S3 ST7789 170*320 home assistant 구성 를 만들어 주세요
===============
Copilot 에게 문의 하여 정보를 찾아 봅니다
================================
T-Display ESP32-S3 ST7789 170*320 home assistant 구성 를 만들어 주세요
정상적인 소스 찾아주세요
LILYGO® T-Display-S3는 ESP32-S3 기반의 개발 보드로, 1.9인치 ST7789 LCD 디스플레이를 탑재하고 있습니다.
이 디스플레이는 170x320 해상도를 지원하며, WIFI와 Bluetooth 5.0 무선 모듈을 내장하고 있습니다1.
Home Assistant에서 T-Display-S3를 구성하려면 다음 단계를 따르세요:
ESPHome를 사용하여 T-Display-S3를 설정합니다.
이를 위해 patched tft_espi를 사용하여 ST7789 디스플레이를 지원합니다. 자세한 내용은 여기에서 확인할 수 있습니다2.
ESPHome 구성 파일에서 T-Display-S3를 정의하고 필요한 센서, 서비스 및 통합을 추가합니다.
Home Assistant에 T-Display-S3를 통합하고 사용자 지정 카드 또는 UI 요소를 생성합니다.
위 단계를 따르면 T-Display-S3를 Home Assistant에서 성공적으로 사용할 수 있습니다. ????자세한 정보
https://www.devicemart.co.kr/goods/view?no=14907877
===============================
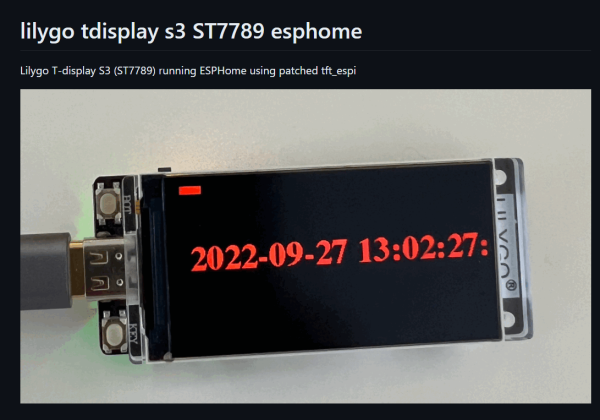
lilygo tdisplay s3 ST7789 esphome
===============================
https://github.com/landonr/lilygo-tdisplays3-esphome
======================
esphome:
name: s3
friendly_name: ESP32-S3 T-Display
platformio_options:
board_build.f_flash: 80000000L
board_build.partitions: default_16MB.csv
board_build.arduino.memory_type: qio_opi
external_components:
- source: github://landonr/lilygo-tdisplays3-esphome
components: [tdisplays3]
esp32:
board: esp32-s3-devkitc-1
variant: esp32s3
framework:
type: arduino
flash_size: 16MB
# Enable logging
logger:
# Enable Home Assistant API
api:
ota:
password: "6ada29f6f41ce1685d29d406efd25fa4"
wifi:
ssid: !secret wifi_ssid
password: !secret wifi_password
# Enable fallback hotspot (captive portal) in case wifi connection fails
ap:
ssid: "S3 Fallback Hotspot"
password: "zQ9tuPKIfFMu"
time:
- platform: homeassistant
id: ha_time
binary_sensor:
- platform: gpio
pin:
number: GPIO0
inverted: true
name: "Button 1"
- platform: gpio
pin:
number: GPIO14
inverted: true
name: "Button 2"
output:
- platform: ledc
pin: GPIO38
id: gpio38
frequency: 2000
light:
- platform: monochromatic
output: gpio38
name: "Backlight"
restore_mode: RESTORE_DEFAULT_ON
# You can either setup the backlight as a switch like below or make it dimmable using a light output like above
# switch:
# - platform: gpio
# pin: GPIO38
# name: "Backlight"
# id: backlight
# internal: true
# restore_mode: RESTORE_DEFAULT_ON
font:
- file: "gfonts://Roboto"
id: roboto
size: 30
display:
- platform: tdisplays3
id: disp
update_interval: 1s
rotation: 270
lambda: |-
it.printf(20, 70, id(roboto), Color(255, 0, 0), id(ha_time).now().strftime("%Y-%m-%d %H:%M:%S").c_str());
========================
첨부 파일 구성 사례
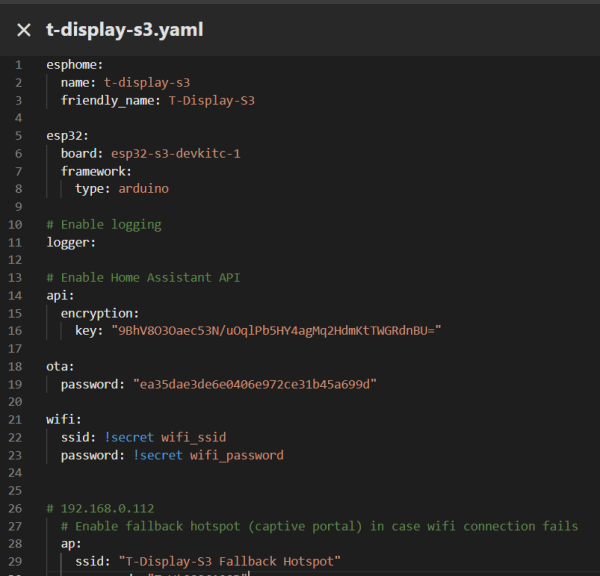
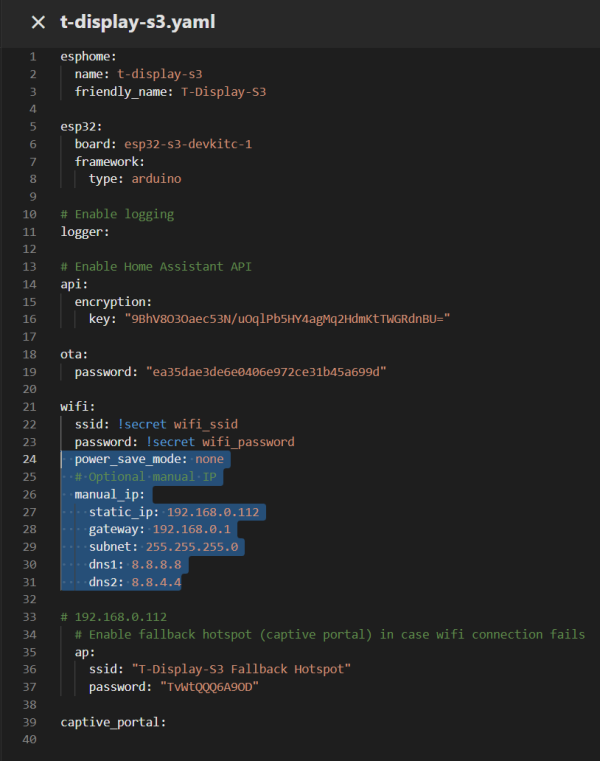
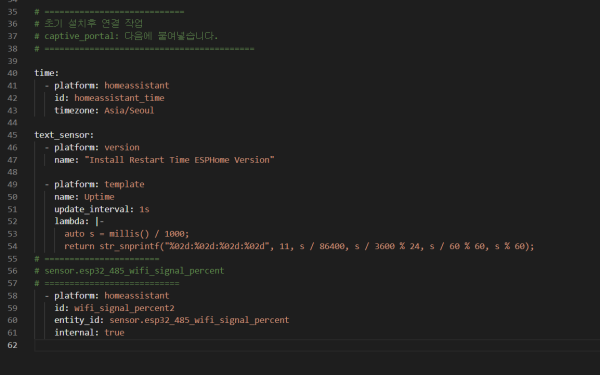
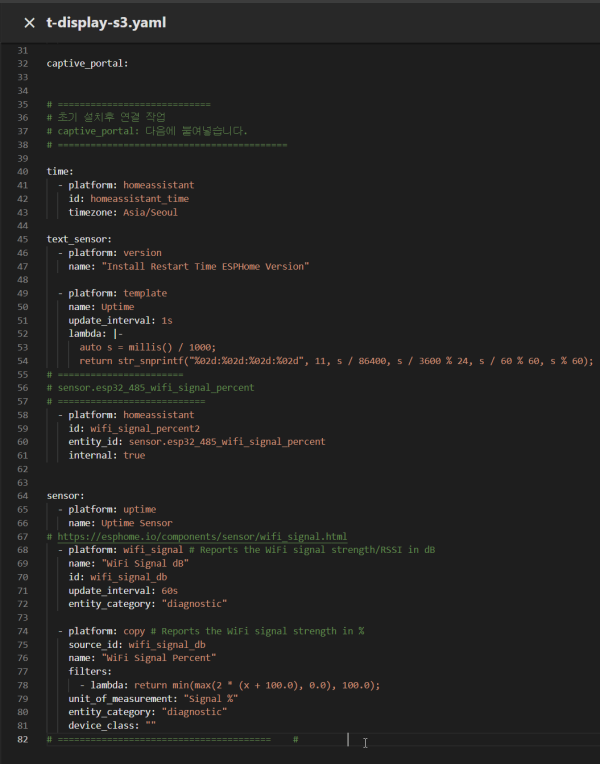
\\192.168.0.35\config\esphome\t-display-s3.yaml
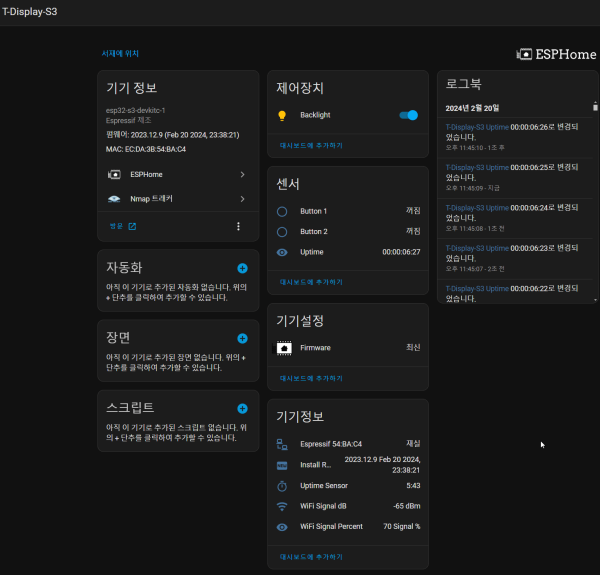
아래와 같이 기본구성 확인 합니다
정보 display 을 이제 구성 가능 합니다.
관련자료
-
링크
-
첨부등록일 2024.02.24 19:14등록일 2024.02.24 19:14
-
이전
-
다음
11qkr님의 댓글
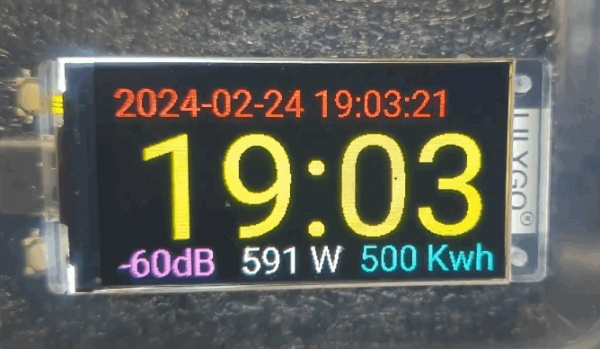
# ESPHome를 사용하여 디스플레이 화면을 표시하고, 잔상 방지를 위해 표시 위치를 1 dot 이동하고 다시 원복하는 소스
display:
- platform: tdisplays3
id: disp
update_interval: 1s
rotation: 270
lambda: |-
static int position = 0;
position = (position + 1) % 1; // % 1 ~ 3 으로 변경 확인 디스플레이의 이동 입니다
static int positionh = 0;
positionh = (positionh + 1) % 1; // % 1 ~ 3 으로 변경 확인 디스플레이의 이동 입니다
static int positiont = 0;
positiont = (positiont + 1) % 15; // % 1 ~ 10 으로 변경 확인 디스플레이의 이동 입니다
it.printf(positionh + 2, position, id(roboto30), Color(0, 0, 0), " "); // 이전 위치 지우기
it.printf(positionh + 2, position + 10, id(roboto30), Color(255, 0, 0), id(ha_time).now().strftime("%Y-%m-%d %H:%M:%S").c_str());
it.printf(positiont + 2, position + 26, id(roboto120), Color(255, 255, 0), id(ha_time).now().strftime("%H:%M").c_str());
it.printf(positionh + 2, position + 141, id(roboto30), Color(255, 0, 255), "%.0fdB", id(wifi_signal_db).state);
it.printf(positionh + 100, position + 141, id(roboto30), Color(255, 255, 255), "%.0f W", id(power).state);
it.printf(positionh + 200, position + 141, id(roboto30), Color(0, 255, 255), "%.0f Kwh", id(total_energy).state);
# T-Display-S3 LCD 디스플레이 개발 보드, 와이파이 블루투스 5.0 무선 모듈, 170*320 해상도, ESP32 S3, 1.9 인치 ST7789
# https://ko.aliexpress.com/item/1005006186564017.html
# https://11q.kr/www/bbs/board.php?bo_table=co3&wr_id=1928&page=2

